Contact Columbus Door Sales Today!
Thank you! Your submission has been received!
Oops! Something went wrong while submitting the form.
Programming a garage door opener might seem intimidating at first, but with the right guidance, it’s often a quick and manageable task for most homeowners. LiftMaster garage door openers are designed with user-friendly features like the Learn button, which makes it easy to add or reset remotes, keypads, and vehicle controls. In this blog, we break down the entire process step by step, helping you understand how your LiftMaster opener works, how to program different devices safely, and what to do if you run into issues along the way. Whether you’re setting up a new system, moving into a new home, or updating access for your family, this guide is designed to give you confidence from start to finish.
Before you start pressing buttons, it helps to understand what you’re working with. Most modern LiftMaster garage door openers, from the mid-1990s through 2026 models, use a Learn button to program remotes, keypads, and vehicle buttons. This small button puts your opener into programming mode, allowing it to recognize and store new device signals.
Beyond convenience, the garage doors and openers play a meaningful role in home security. Modern garage doors and openers are a key part of overall home security systems, helping control access to one of the largest entry points in the house. Proper programming ensures that only authorized remotes, keypads, and vehicles can operate the door, reducing the risk of unauthorized entry.
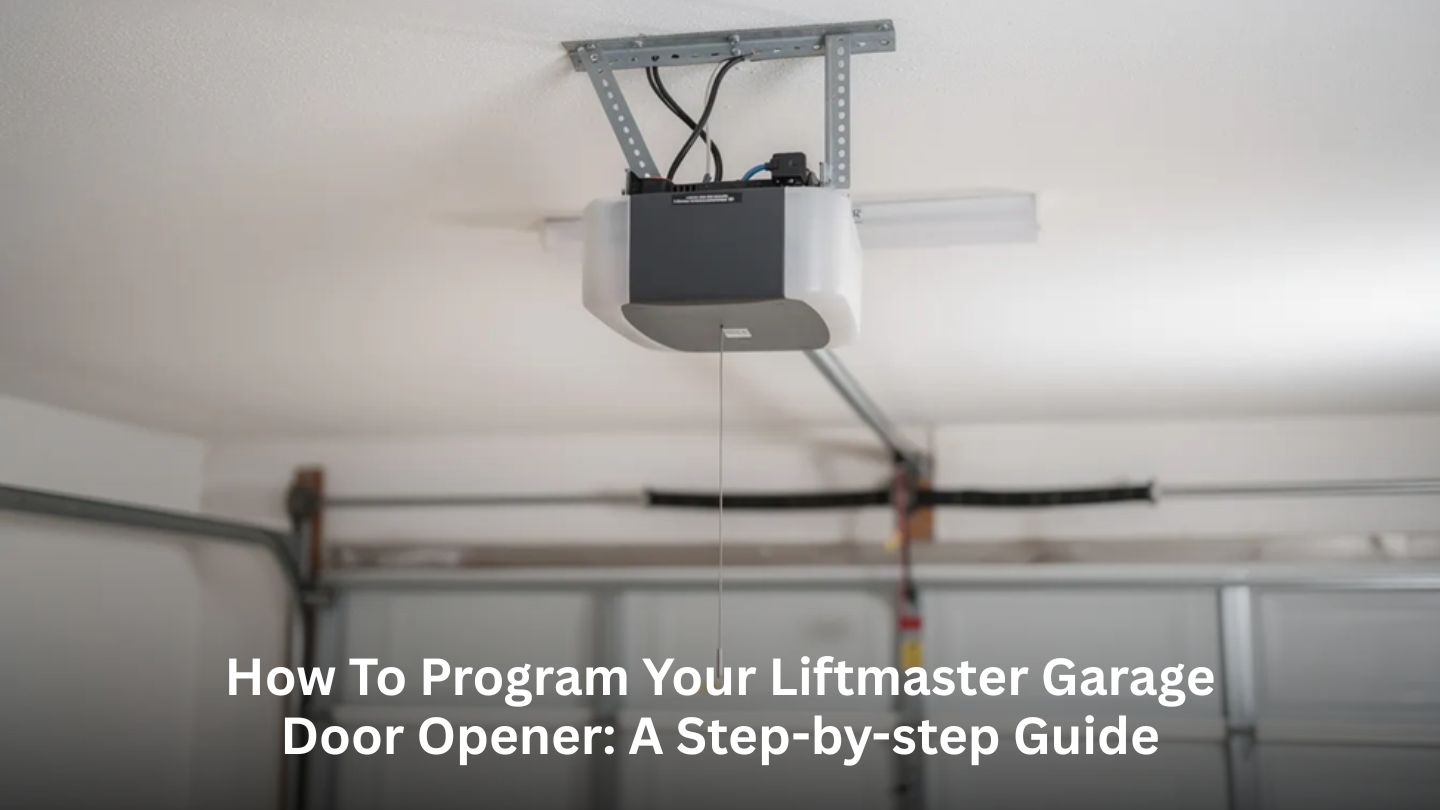
The Learn button is typically located on the back or side of the motor unit, near where the antenna wire exits the housing and close to the wiring terminals. On many models, you’ll need to remove the light lens cover or a small plastic panel to access it. Look for a small colored button with an LED indicator light nearby.
The color of your Learn button tells you which radio frequency and security protocol your opener uses:
|
Learn Button Color |
Approximate Era |
Frequency/Protocol |
|
Yellow |
2011 and newer |
Security+ 2.0 |
|
Purple |
Early 2000s |
Security+ (315 MHz) |
|
Red/Orange |
Late 1990s |
Security+ |
|
Green |
Older Security+ |
390 MHz |
This color matters when programming MAX remotes and universal keypads, as you’ll need to match your remote’s settings to your opener type.
Check the model number label on your opener housing. Common LiftMaster models include the 8550W, 8500, 3255, and 8165W. Confirming your model is also helpful when evaluating whether your opener still meets your household’s needs. Older units may lack modern safety, security, or connectivity features, and there are clear signs that tell you when to replace your garage door opener rather than continue repairing or reprogramming it.
This section covers the common one-, two-, and three-button remotes that ship with LiftMaster openers, not the universal MAX line (we’ll cover those next). If you have an original remote or purchased a replacement like the 891LM or 893LM, these steps apply to you.
When pairing succeeds, you’ll typically see one of these responses:
The 30-second window is critical. If you wait too long after pressing the Learn button, the opener exits programming mode, and you’ll need to repeat the process. Have your remote ready before you press Learn.
During your first test after programming, stand where you can see the door, but stay clear of its path. Make sure children, pets, and objects are away from the door area.
If the remote doesn’t program:
Read More: Why Is My Garage Door Opening on Its Own? Troubleshooting Tips
LiftMaster MAX remotes and keypads are designed to work with most LiftMaster openers made from around 1993 onward. These universal devices are useful when upgrading or replacing older remotes, especially when homeowners are re-evaluating opener features. Choosing the right garage door opener and compatible accessories often comes down to balancing security, power, noise level, and long-term reliability.
Each MAX model has its program button in a different location:
|
Model |
Program Button Location |
|
890MAX |
Small recessed button (use a safety pin or paperclip) |
|
893MAX |
Under the visor clip |
|
895MAX |
Recessed button requiring a pin to press |
|
877MAX Keypad |
Press * and # keys together |
Stage 1: Configure the Remote
Stage 2: Sync to Your Opener
.jpg)
Exterior keypads provide convenient access while supporting security when properly programmed. During installation or reprogramming, it’s important to consider key factors involved in installing a new garage door opener correctly, such as proper placement, signal range, and ensuring the opener is compatible with keypad technology.
The exact key sequence varies by model. For the LiftMaster 877LM and 878MAX, check the instructions on the sticker inside the keypad cover. The programming process typically involves:
|
Good PIN Choices |
PINs to Avoid |
|
Random four digits you can remember |
1234 or 0000 |
|
A meaningful date only you know. |
Your house number |
|
Part of an old phone number |
Birth year |
Keep the keypad cover closed when not in use to protect the buttons from the weather.
When programming succeeds, you’ll typically see the opener light blink twice, or the door may move a short distance as confirmation.
To change your keypad code:
This is especially smart to do after moving into a new house, you never know who might remember the previous code.
Many vehicles from the early 2000s onward include built-in garage door buttons, commonly called HomeLink, Car2U, or manufacturer-specific systems. These are typically located in the visor, overhead console, or rearview mirror area. Connecting them to your LiftMaster garage door opener eliminates the need for a separate remote in your car.
Programming your car involves two stages:
You may need to repeat the HomeLink button press 2-3 times during this step for rolling-code openers.
Most LiftMaster openers made from the mid-1990s onward use Security+ or Security+ 2.0 rolling code technology. Very old vehicles with first-generation HomeLink systems might require a HomeLink bridge kit for compatibility. If your car was manufactured before 2002, connect with your vehicle dealer to check compatibility.
Keep your car safely parked outside the door path and ensure the area is clear of people and objects during each test cycle. Never activate the door while the car is positioned underneath.
Programming your LiftMaster garage door opener is usually straightforward, but occasionally you’ll run into trouble. Before you get frustrated, work through these common issues and fixes.
|
Problem |
Likely Cause |
Solution |
|
Remote won’t program |
Dead or weak battery |
Replace the battery |
|
Works only up close |
Weak signal or interference |
Check antenna wire hangs straight down |
|
No response at all |
Wall control in lock mode |
Check the lock button on the wall control |
|
Intermittent operation |
LED light bulb interference |
Try a different bulb type |
|
The door reverses unexpectedly. |
Safety sensors misaligned |
Check sensor alignment and wiring |

If none of your other remotes or newly programmed devices work, but the wall control operates the door fine, the opener’s radio receiver or logic board may be faulty. This typically requires professional diagnosis and repair.
If you’ve moved into a new house or suspect previous owners’ remotes might still be active, perform a complete reset:
This clears all programmed remotes and keypads from memory. You’ll need to reprogram all your devices afterward.
Some situations call for experienced help:
Our skilled technicians can diagnose and resolve these issues quickly, getting your garage door back to dependable operation.
This guide walks through everything you need to know to successfully program a LiftMaster garage door opener, from identifying your Learn button and syncing standard or MAX remotes to setting up keypads and connecting built-in vehicle systems like HomeLink. By understanding compatibility, timing requirements, and basic troubleshooting steps, most homeowners can confidently handle programming tasks while keeping their garage door system operating safely, securely, and reliably.
If programming issues persist, an older opener needs attention, or you’d rather leave the work to professionals, you can contact us. Columbus Door Sales is a trusted resource for garage doors in Columbus that homeowners and businesses can rely on. Their expertise spans residential service and repair for everyday issues, modern garage door openers and accessories that improve performance and security, and entry and patio doors that enhance curb appeal and energy efficiency. They proudly serve communities such as Arlington and Columbus, Ohio, and also provide specialized commercial solutions, including fire doors for businesses that require code-compliant protection. With more than six decades of experience, our team delivers dependable solutions designed to keep your doors working smoothly and your property protected.
Press and hold the Learn button on your opener for about 6-10 seconds until the Learn LED goes completely out. This clears all programmed remotes and keypads from the opener’s memory. Once cleared, reprogram only your own devices using the steps in this guide. This ensures that any remotes from previous owners will no longer work.
Yes! Multi-button LiftMaster remotes (like the 893LM or 893MAX) can typically control up to three separate openers. Simply program each button to a different door by repeating the programming process for each opener. Make sure all your openers are compatible models that use the Learn button system.
For peace of mind, clear all codes from your opener’s memory by holding the Learn button for 6-10 seconds. Then program only your replacement remotes and keypads. The lost remote will no longer be able to activate your door. You can purchase a new remote from your local garage door company or directly from LiftMaster.
Common causes include weak batteries, a damaged or shortened antenna wire on the opener, LED light bulb interference in the opener housing, or nearby radio devices creating signal interference. Start by replacing the remote battery with a fresh one. If that doesn’t help, try switching to a different type of light bulb in your opener (incandescent sometimes works better than certain LEDs). Also, ensure the antenna wire is hanging straight down and not coiled up.
For most LiftMaster openers manufactured between the late 1990s and 2026, programming a single remote or keypad typically takes 2-5 minutes once you’ve located the Learn button and have your devices ready. The process is quick; the main time investment is getting up the ladder and finding the Learn button the first time.
.jpg)