Contact Columbus Door Sales Today!
Thank you! Your submission has been received!
Oops! Something went wrong while submitting the form.

Installing a new garage door opener is more than a simple upgrade; it’s a crucial investment in convenience, security, and functionality. A well-chosen and properly installed opener ensures smooth operation, long-term reliability, and enhanced safety for your home. Before beginning the installation process, it’s important to understand the factors that influence performance and compatibility, from the type of opener to the layout of your garage. In this blog, we’ll outline the key considerations and steps involved to help you achieve a seamless and efficient garage door opener installation.
Choosing the right garage door opener is the first crucial step in the installation process. The variety of options can be overwhelming, but this guide will help you navigate through the different types of openers to find the perfect fit for your needs.
For quiet operation, especially if you have living spaces above your garage, a belt drive opener is ideal due to its smooth and silent performance. In contrast, chain drive models are more cost-effective but noisier, making them suitable for detached garages where noise isn’t a concern.
When it comes to choosing the right garage door opener, factors like noise level, drive type, and smart compatibility make all the difference. Selecting the correct model enhances efficiency, boosts reliability, and provides smooth operation customized to your home’s unique design and usage patterns.
Wall mount openers, or jackshaft models, are ideal for tight spaces or cluttered garage ceilings as they reduce overhead clutter and free up valuable space. Tech-savvy homeowners will appreciate smart garage door openers for their remote access and enhanced security features, controllable via smartphone.
Direct drive openers are another excellent option, operating with minimal noise and requiring less maintenance due to their simple design. When selecting a garage door opener, consider factors like noise level, power, and smart features to make an informed decision that suits your lifestyle.
Assessing your garage door before installation ensures compatibility with your new opener and smooth opening functionality.
Determine whether you have a traditional garage door that swings outward or opens upward, or an overhead door that rolls up along tracks. This distinction affects the type of opener you’ll need.
Understanding the role of garage doors and openers in home security systems is critical for homeowners who value safety and peace of mind. Modern systems integrate smart locks, sensors, and remote monitoring, ensuring that your garage functions as both a secure entry point and a first line of defense against intrusions.
Measure the height and width of your garage door to identify the correct size opener needed for proper functionality.
Read More: How to Know Which Size Garage Door Opener You Need: A Practical Guide
Gathering all necessary tools and materials beforehand ensures a smooth and efficient team job installation process, saving time and preventing inconvenience.
Essential tools for garage door opener installation include:
Also, ensure there’s an accessible electrical outlet on the ceiling where you’ll install the opener.
Creating a safe and organized installation area involves clearing a wide area around the garage door for easy movement during installation and establishing a clear pathway from the driveway to the garage location for the smooth transport of tools and materials.
For a safe and accurate installation, keep the following in mind:
Remove any standing water or ice from the installation area to enhance safety conditions.
Read more: Important Garage Door Safety Tips You Need to Know
Removing the old garage door opener requires caution and precision. Begin by closing the garage door, then unplug the old opener and remove the brackets securing it to the garage ceiling.
Mind the springs, as they are under tremendous pressure and can be dangerous if not handled correctly. Prioritize safety when handling the rails to protect yourself, and lower them to the floor carefully.
Using an open-ended adjustable wrench, remove the brackets of the lifting arm and safely disconnect and remove the old unit. Enlist the help of a friend or family member when lowering the motor assembly to avoid accidents if needed.
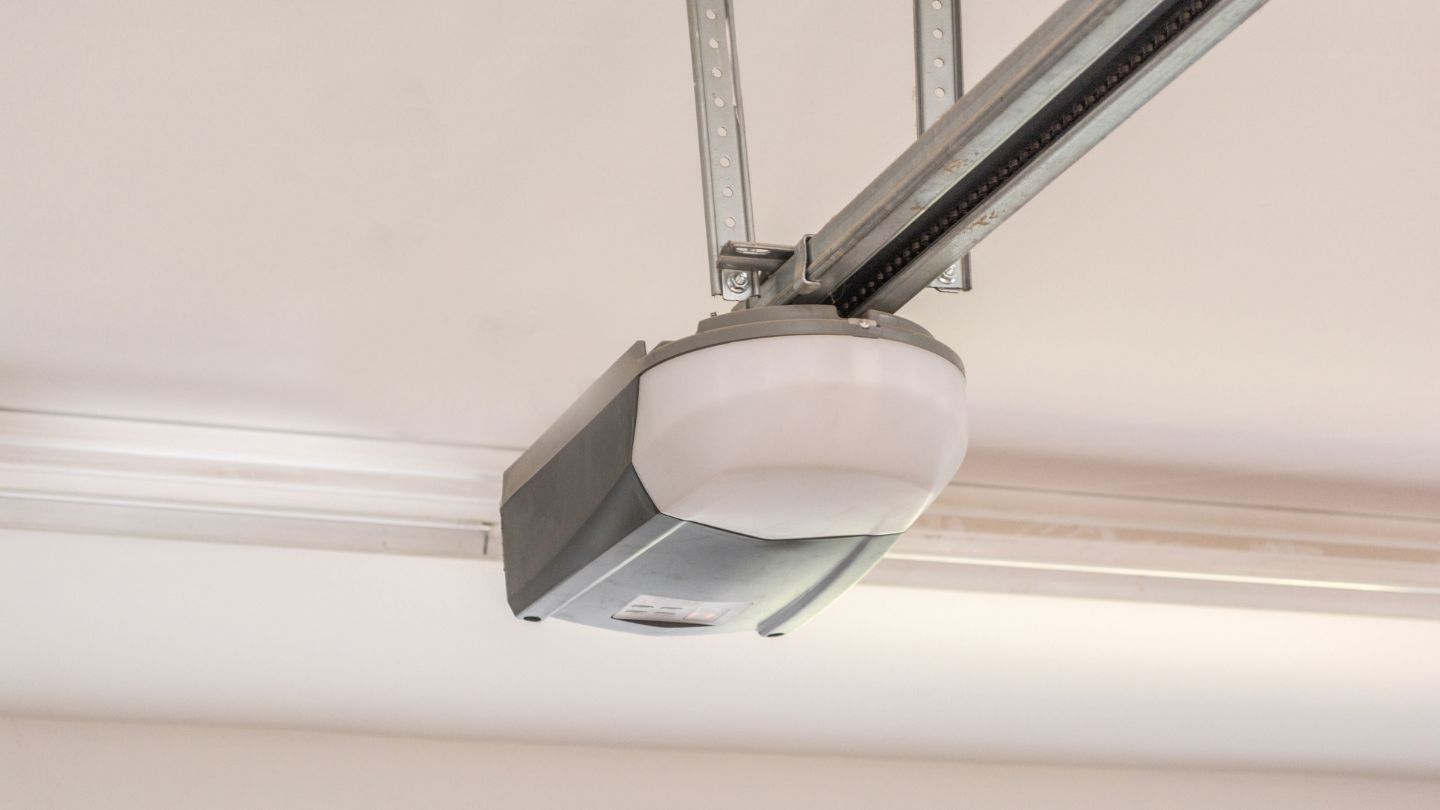
With the old opener out of the way, start installing your new garage door opener by following the manual provided for reliable and efficient setup. Basic steps include mounting the opener to the ceiling and ensuring it aligns correctly with the garage door.
To install the new lifting arm:
Assembling the rail system is a critical part of the installation process. Follow the instructions in the manual provided with your new opener to ensure the rail assembly is securely connected to the motor unit, preventing any disconnection during operation.
Once the rail is in place, attach the trolley and ensure it moves smoothly along the rail. This is the final step in assembling the rail system.
Knowing when to replace your garage door opener helps prevent unexpected failures and ensures continued safety. If your system shows signs of wear, noise, or slow response, consider upgrading to a newer model with modern safety sensors and smart functionality before proceeding with a full installation.
Mount the motor unit at a height that allows the rail to align with the garage door for optimal performance. Secure the connection with a wrench and double-check all connections for stability.
Ensure the mounting brackets are properly secured with bolts to hold the mounted motor unit in place, preventing issues during operation.
The final step in the installation process is connecting the lifting arm. Attach it to the trolley, ensuring a secure connection, and connect the other end to the garage door.
Calibrate the length of the lifting arm to ensure smooth operation of the garage door. After installation, test the door to verify everything operates correctly.
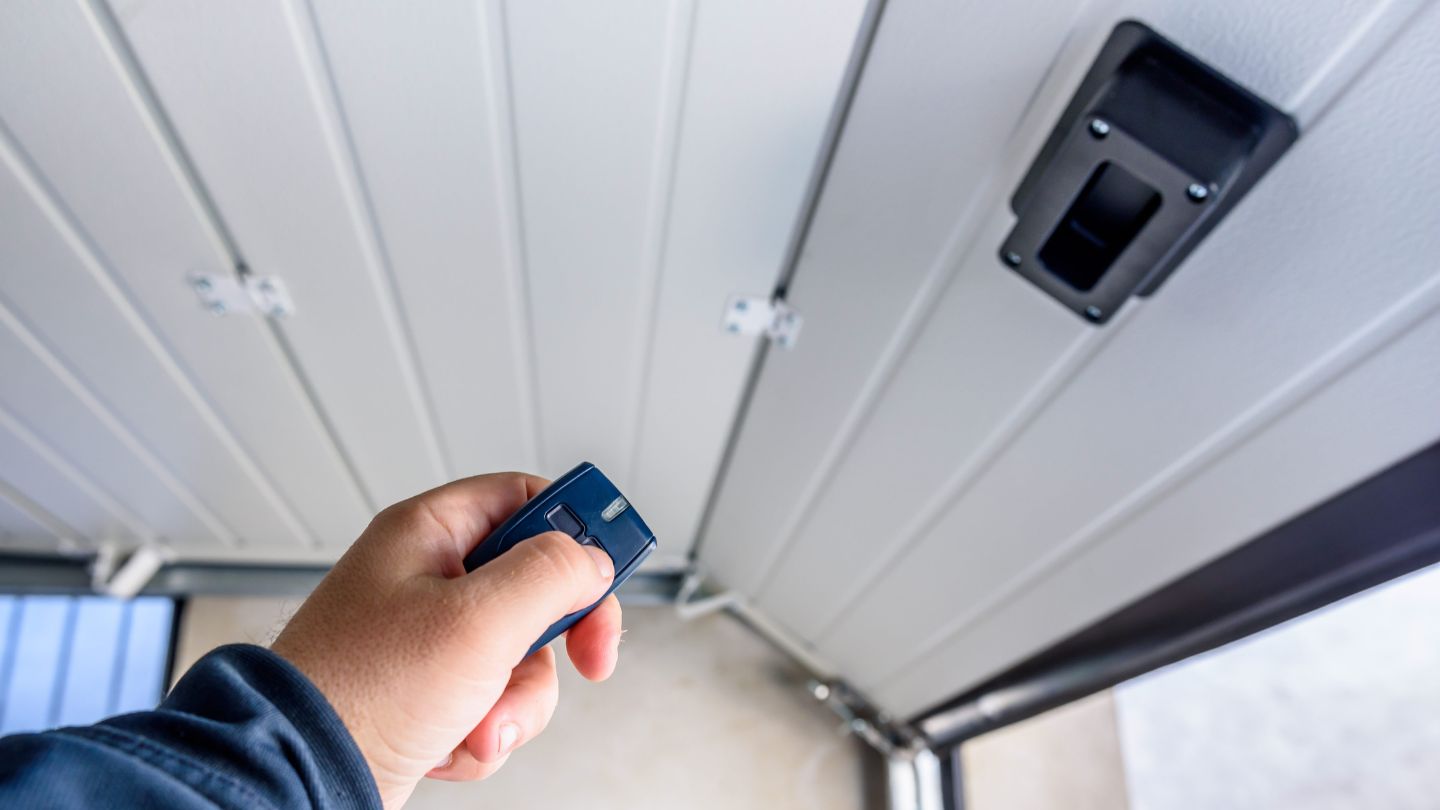
Set up the control systems for your new garage door opener for convenient operation. Use remotes, wall switches, and smartphone apps for control. Mount the remotes on your car’s sun visor for easy access.
Options for garage door access include:
Safety sensors are a critical component of your garage door opener installation. Position them no higher than 6 inches from the floor for optimal effectiveness and align the sensors so their LED lights face each other.
Each sensor includes an LED indicator: amber for sending a signal and green for receiving. Connect wires of different colors to the correct terminals on each sensor to ensure proper functionality.
Testing and adjusting your new garage door opener ensures proper functionality. Follow these steps:
Test the reversal feature by placing a one-inch board or a 2x4 flat on the ground under the door when it’s fully open and then closing the door. Ensure the door reverses upon hitting the obstacle.
Maintaining your garage door opener ensures its longevity and performance. To do this:
Regularly inspect and lubricate moving parts to keep everything running smoothly. Address any issues promptly to prevent more significant problems later.
Read more: Keep Your Garage Door Looking Great With These Essential Maintenance Tips
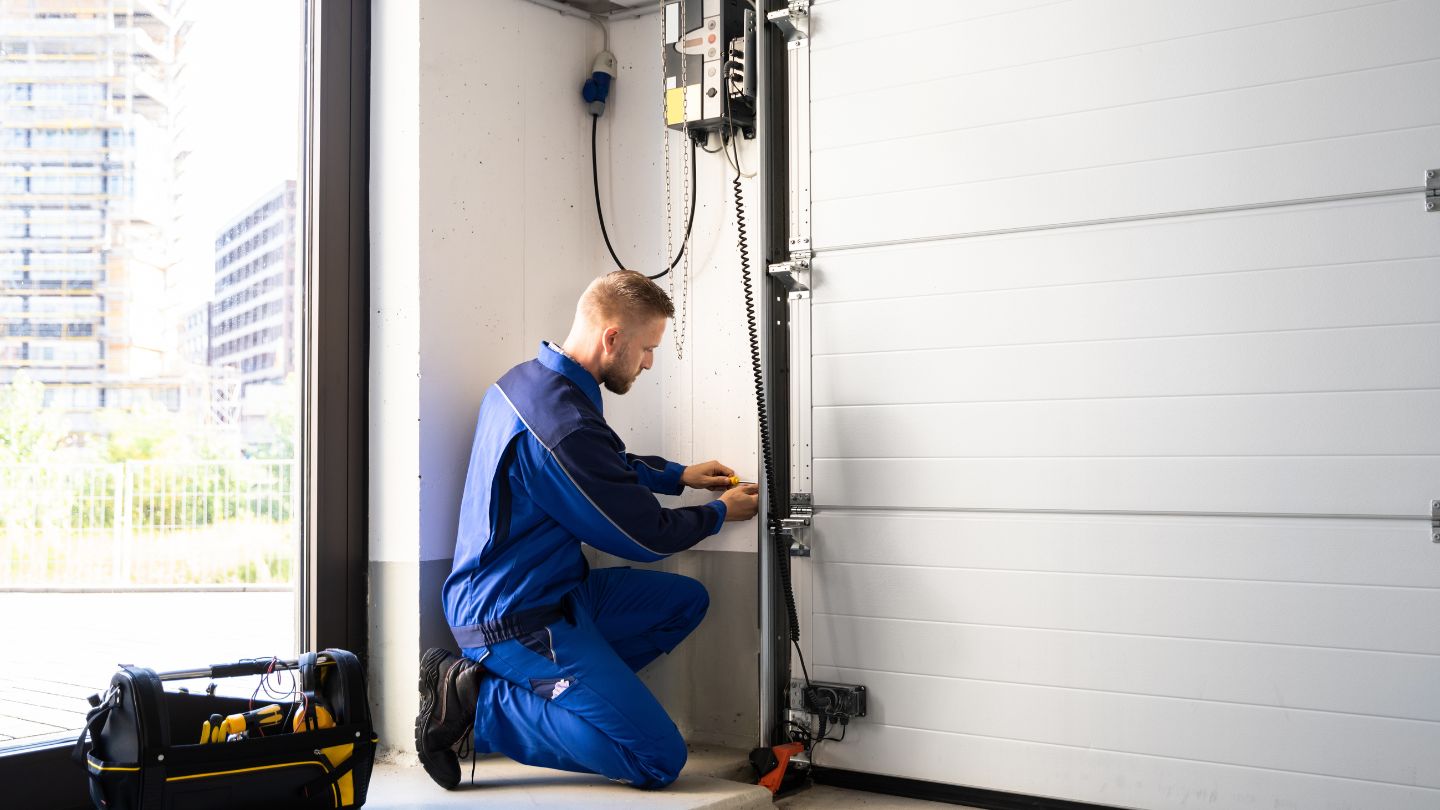
Hiring a professional for your garage door opener installation ensures accurate setup from the start, preventing costly errors and potential damage. Professionals have access to specialized tools for efficient and precise installation.
Professionals offer several advantages:
Installing a new garage door opener requires thoughtful planning, from selecting the appropriate opener type and assessing your existing door to ensuring correct installation and safety calibration. Regular inspections, proper maintenance, and timely adjustments are essential to keeping your system running smoothly and extending its lifespan.
Columbus Door Sales, a trusted provider of services for overhead doors in Columbus, offers professional installation and repair solutions backed by decades of industry experience. Their expert team ensures every system operates safely, efficiently, and reliably, so homeowners can enjoy peace of mind and lasting performance.
Most garage door openers last for many years with regular maintenance. However, lifespan can vary based on usage frequency, climate, and the quality of installation.
While DIY installation is possible, professional installation is strongly recommended to ensure safety, accuracy, and warranty protection. A trained technician can properly calibrate and test the system for long-term reliability.
A belt drive or direct drive opener is ideal for homeowners who prefer quiet operation. These systems use fewer moving parts and produce less vibration than traditional chain drives.
It’s best to have your garage door and opener serviced at least once a year. Routine inspections help identify issues early, keeping the system efficient and preventing costly repairs.
If your garage door stops midway, it could indicate an issue with the safety sensors, force settings, or track alignment. A professional inspection can pinpoint and fix the problem quickly.
.jpg)